1touch Integration and the Custom Table Builder
Author: John Haldeman
1touch and IBM have entered into a close partnership to work together to expand their security capabilities. Results from 1touch’s renowned data classification capabilities can now be easily imported into IBM Security Guardium Insights. See this link under “Import and export data” for more details on how to do that. Additionally, formal integration points are coming soon for Guardium Data Protection, the traditional Guardium database activity monitoring suite. In the meantime, though, you can still integrate Guardium Data Protection with 1touch using the product’s existing capabilities to import CSV files from external systems. This article details how to bring in a 1touch export into Guardium Data Protection. If you aren’t a 1touch user, you can also use this document as a basis for how to import any CSV data into Guardium. We’ll be going through the following steps:
- Set up a custom table in Guardium
- Configure a datasource to import the CSV file
- Create a custom domain on the imported data
- Build a report on that imported data
- Populate a group using that report
Step 1: Setting up a custom table in Guardium
A custom table in Guardium is an area inside Guardium’s internal database that can hold custom imported data. The definition of the custom table should match the CSV file you are going to import. Here’s a sample of the CSV file we plan to import into Guardium:

The CSV file we wish to import displated in Excel
You’ll notice that even though this data is from 1touch, the columns are very similar to those used in the Guardium classifier. That’s not required, but it’s nice to have some consistency between the products and is one of the benefits of the partnership. Here is a list of the columns we’ll be adding:
- UTCOffset
- DataSourceID
- DataSourceName
- DataSourceType
- DataSourceIP
- ServiceName
- DBName
- Port
- ProcessDescription
- Catalog
- Schema
- TableName
- ColumnName
- RuleDescription
- ClassificationName
- Category
- StartDateTime
- StartDateTimeUTC
- Comprehensive
- ResultDataRowID
- Comments
To create the custom table in Guardium, access the GUI and click Reports > Reports Configuration Tools > Custom Table Builder.
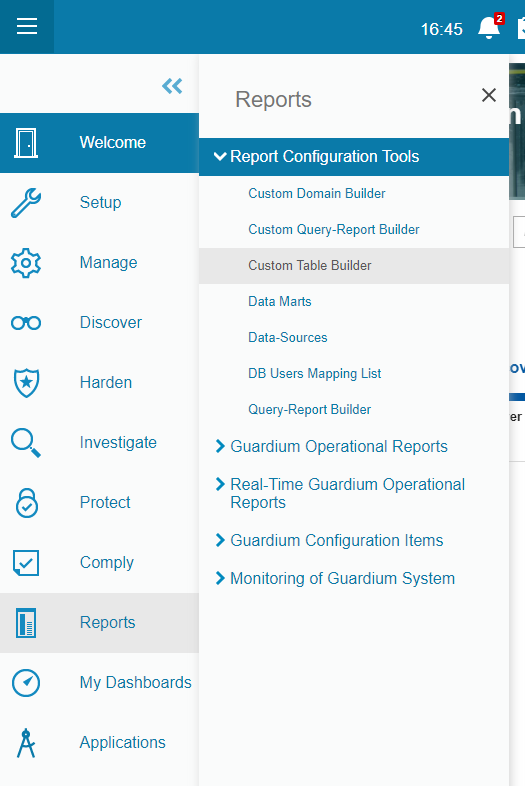
Navigating to the custom table builder
From here, click the Manually Define button. This is where you can define your custom table to contain the CSV data. Entity Description is used to provide a human readable name for the table. Let’s name ours “1touch import”. Table name is the actual name of the table in the internal Guardium database. Let’s use “ONETOUCH_IMPORT”. Then create a column in the list for each of the columns we listed above.
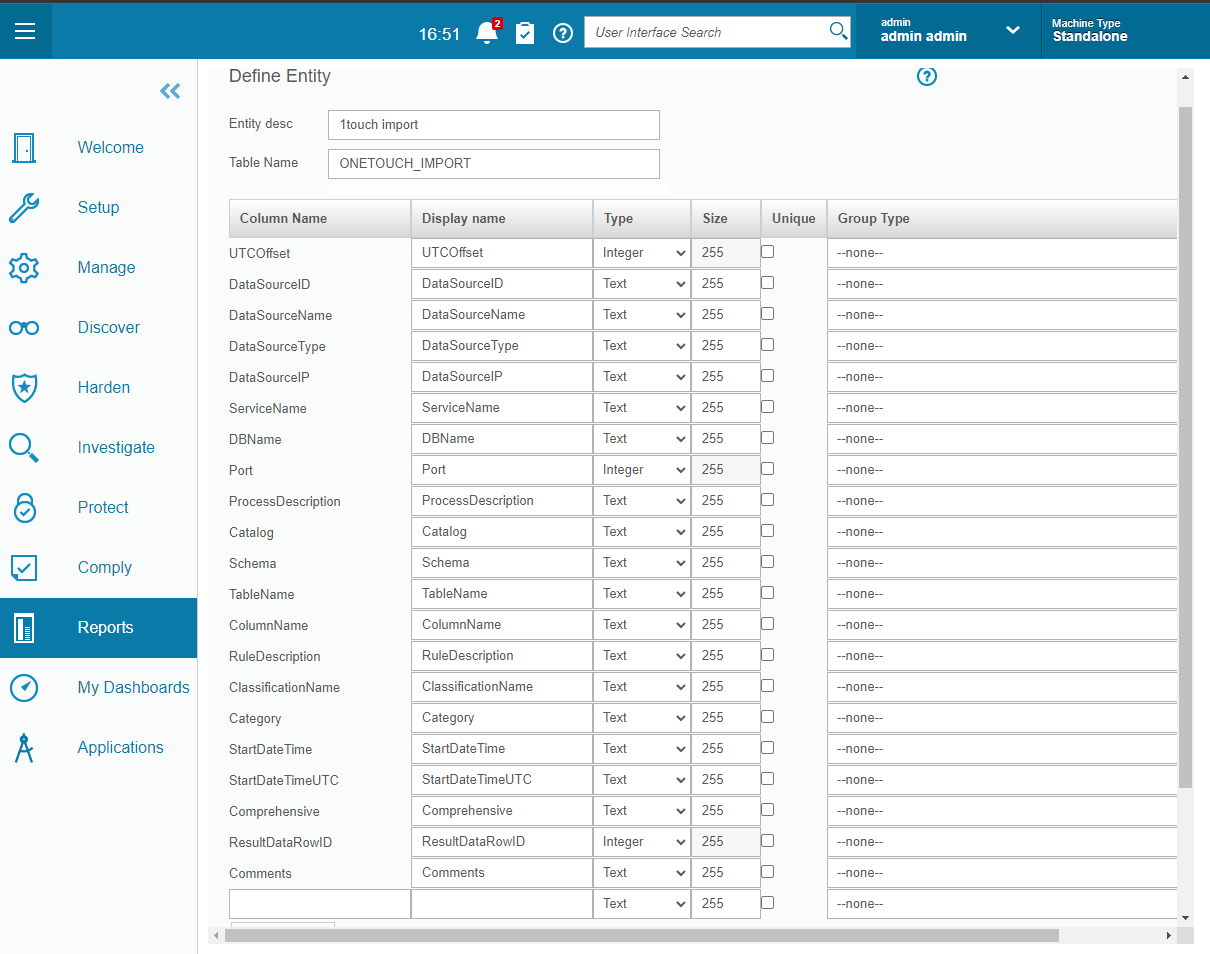
Manually defining a custom table
Now click the Apply button and change the Entity Key to the “ResultDataRowID”.

Selecting ResultDataRowID as the Entity Key
We now have our custom table that data will be put into. The next step is to bring the data into Guardium to populate that table.
Step 2: Bringing the data into Guardium
Loading CSV data into custom tables can be done in a few ways depending on where the data is located. In our example we’re going to show the importing of data from a linux machine but be aware this can also be done with a Windows file share, AWS S3 bucket, NFS, an HTTPS location or FTP location. I’ll point out where the process differs for those datasources below.
When retrieving data from a linux file share, AWS S3, or NFS you can use the import file CLI command to bring the CSV file in and store it on the Guardium appliance. Access the CLI, execute the import file command and answer the questions in the prompts:
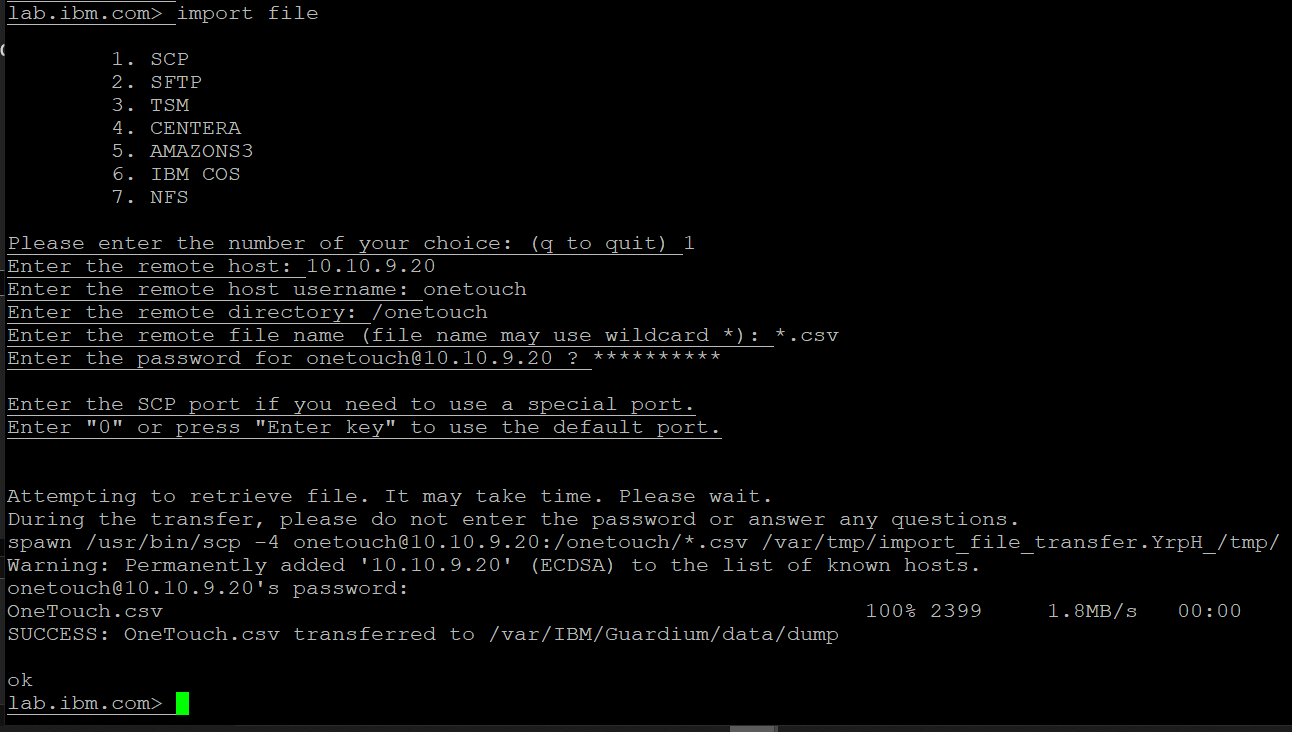
Executing the import file command at the Guardium CLI
As the output suggests, the file is now on the Guardium appliance at /var/IBM/Guardium/data/dump. Let’s get back to the GUI and tell Guardium to use the file. Click Setup > Tools and Views > Datasource Definitions.
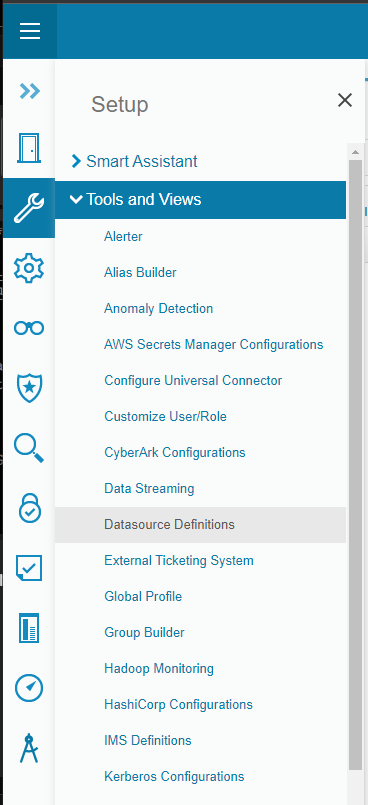
Accessing the Datasouce Definitions area
Click on the button with a plus sign on it to create a new datasource. For Application Type choose “Custom Domain”. Name the datasource “1touch import file”. For Database type choose “TEXT”. TEXT here means a locally uploaded CSV file. There are other sources. For example, you can choose TEXT:SAMBA to get the file from a windows share instead. For the “File name” field specify the name of the file you uploaded. For “Connection property” specify “_CSV_Header=true”. That’s the CSV JDBC driver’s option to specify that the file’s first line is a header line. You can find other options in the hxtt CSV driver’s documentation here. Click Save and Test Connection.
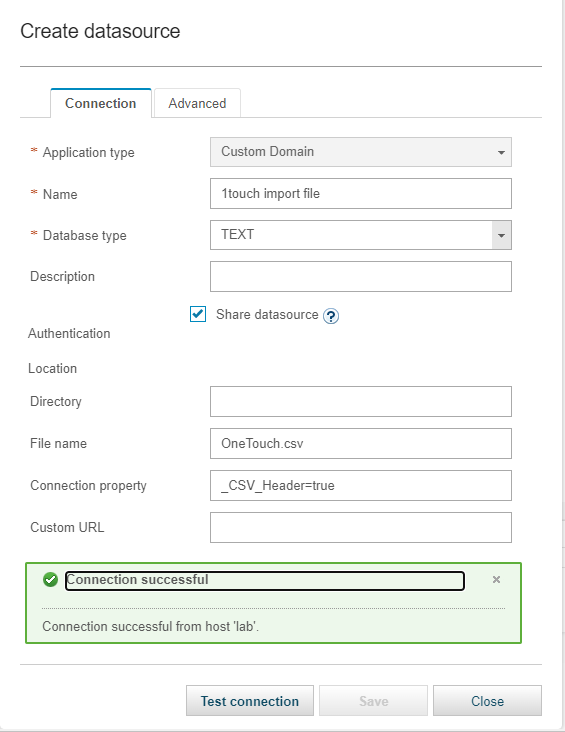
Filling out the TEXT datasource definition
We have our Datasource and our custom table. Now we need to link them together. To do that, go back to the custom table builder by clicking Reports > Reports Configuration Tools > Custom Table Builder.
Filling out the TEXT datasource definition
Select the table we created before, “1touch import”, and click Upload Data.
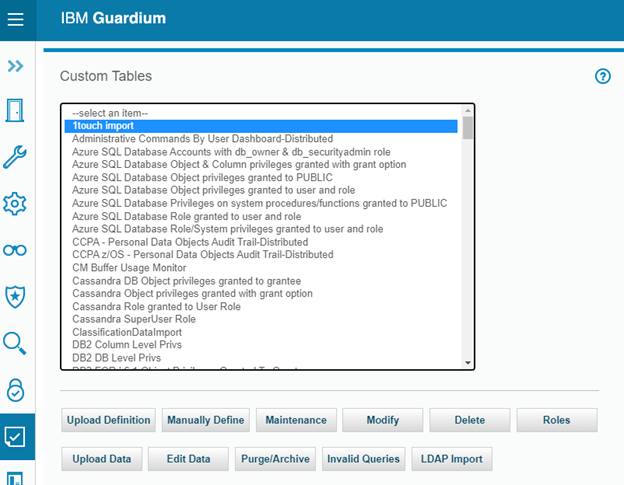
The custom tables list
Put “select * from OneTouch.csv” in the SQL statement field. Note how the table name here is the CSV file name we imported earlier. Now click the Add Datasource button:

The Add Datsource button
Select the datasource we created earlier and click Save.
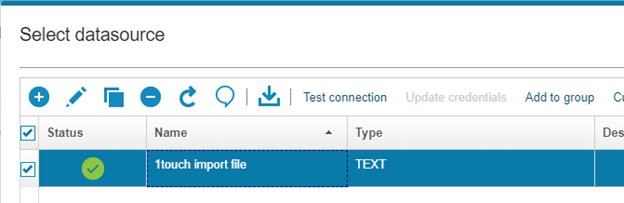
Selecting the datasource
Now click Apply and Run Once Now to import the data from the file into the custom table. If you see a message saying you have records inserted, you’re successfully configured!
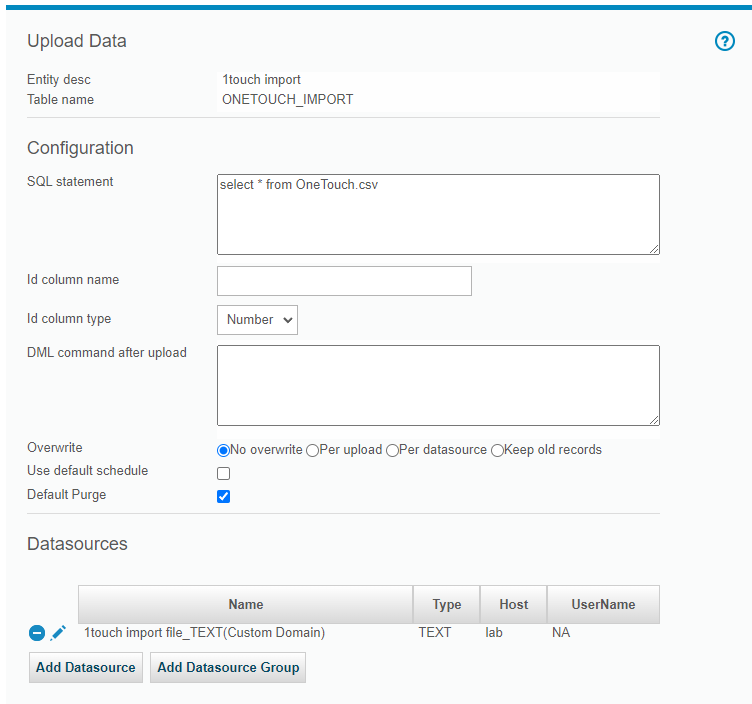
Configuring the SQL statement for import of data
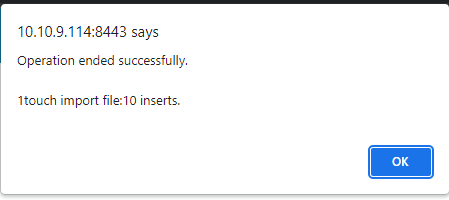
Successful insertion of records into the custom table
The data is now in Guardium. If you want to see what it looks like, you can click Back and then Edit Data and finally click the Query button.
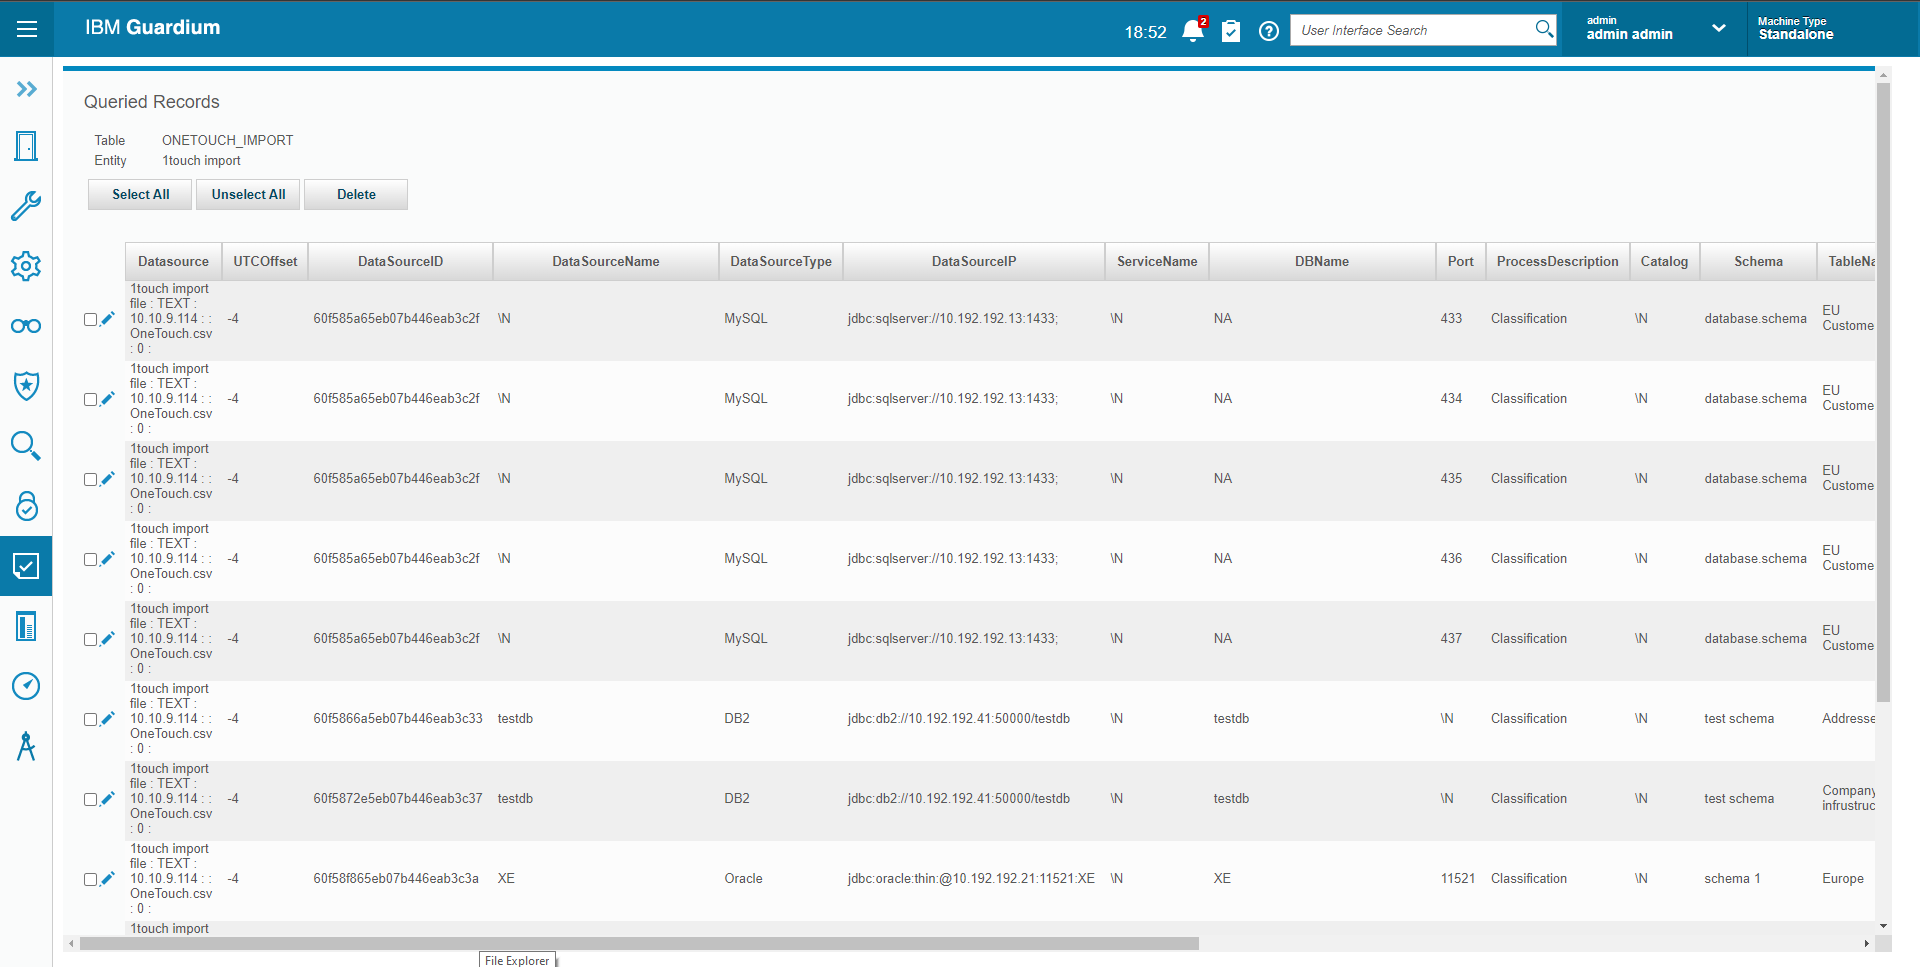
The raw data in Guardium
This is great, the data is inside Guardium. We have just a few more steps to be able to use it properly in a report.
Step 3: Create a Custom Domain
Domains in Guardium define tables and relationships between tables for queries. We’ll create a very simple single-table domain that will allow us to build queries on the imported data. To start click Reports > Report Configuration Tools > Custom Domain Builder. From here, click the plus sign to create a new domain.
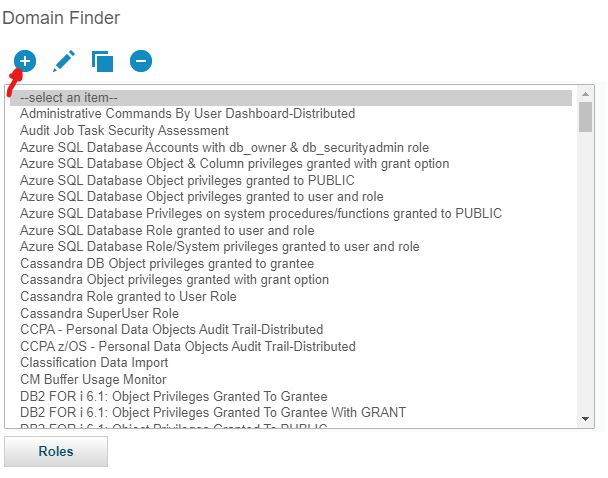
The raw data in Guardium
Name the domain “1touch import” and add the table to the domain by clicking the » button.
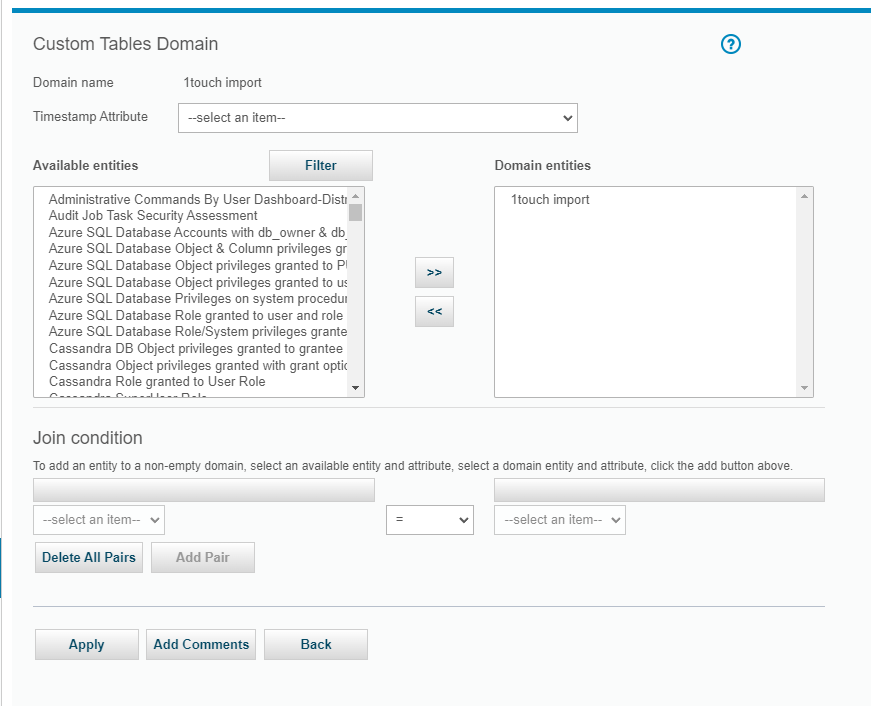
The list of Guardum custom tables
Choose the “SqlGuard Timestamp” as the Timestamp Attribute and click Apply and you are done!

Selecting the Timestamp Attribute
Now that we have our domain, we can build a query on the data.
Step 4: Create a custom report
Click on Reports > Report Configuration Tools > Custom Query-Report Builder to get to the report builder for custom domains. Then in the dropdown menu, select the custom domain we just created.
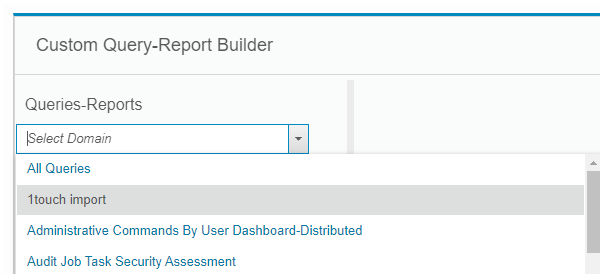
Selecting the custom domain in the Custom Query-Report Builder
Now click the plus button to add a report on the domain. At this point, building a query works exactly like how you would build any other Guardium query. Create a query including all the columns.
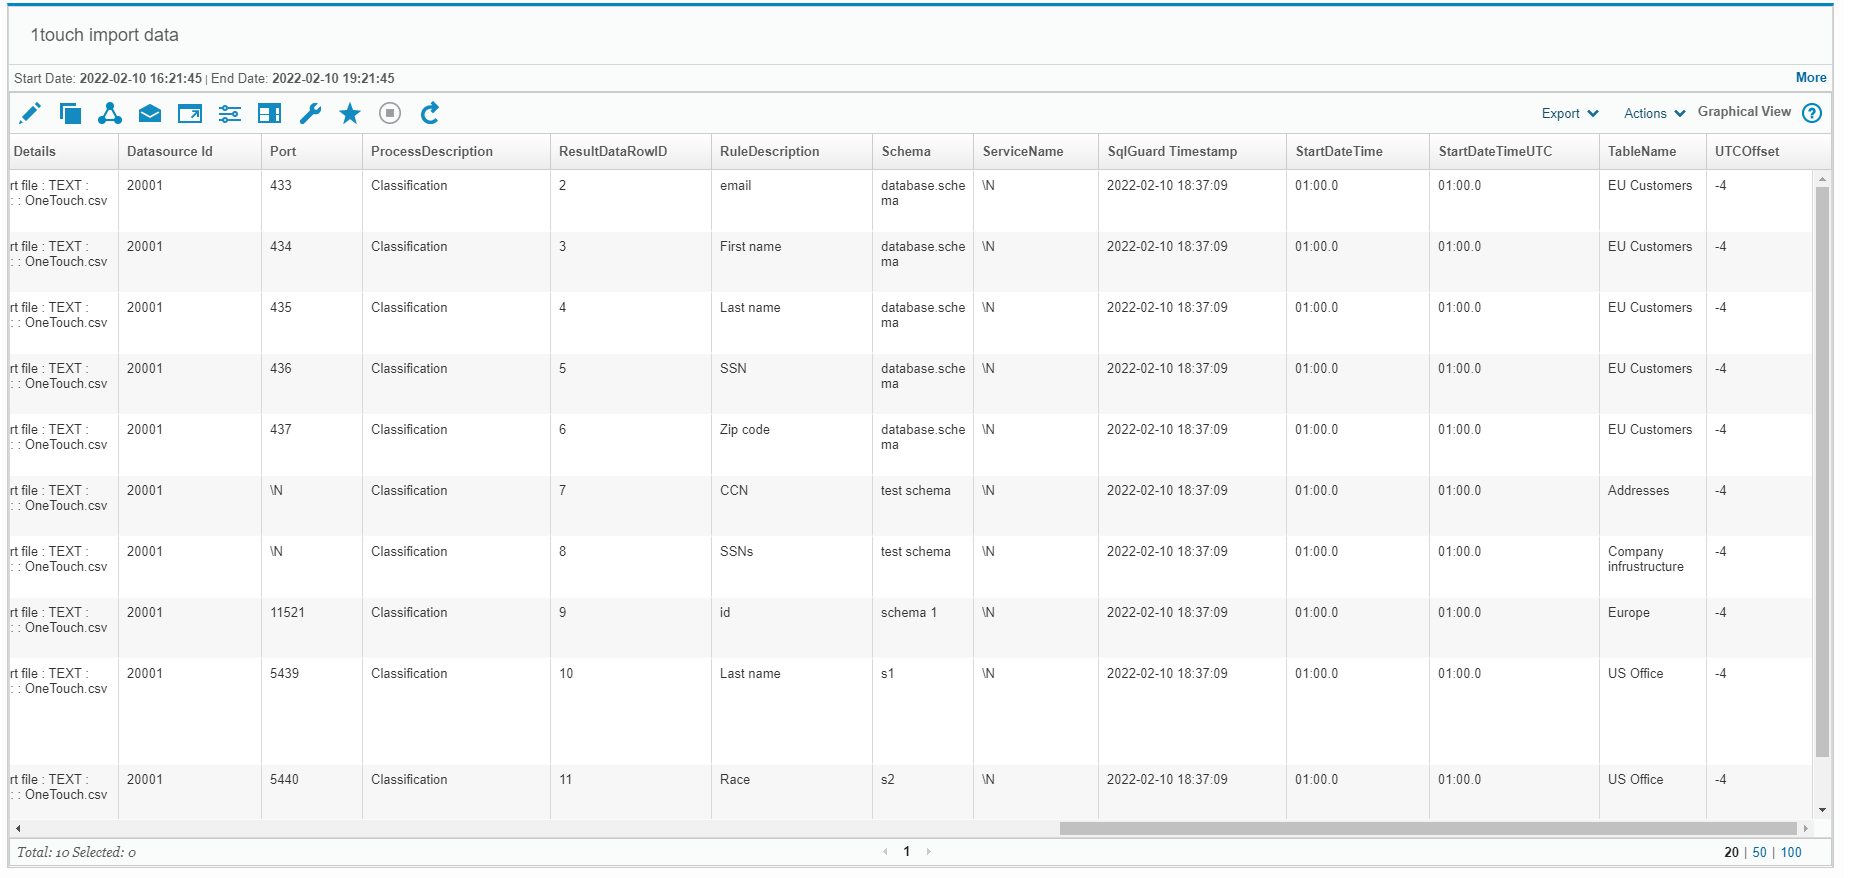
A report on our imported 1touch data
Step 5: Populating a group with the imported data
Since the data is in a report you can now use it anywhere where reports are used. You can set up a correlation alert or an audit process to deliver results on a regular basis. If you want to use the results in a policy or another report, you can also populate a group with the data in the new report.
As an example of populating a group, access the group builder at Setup > Tools and Views > Group Builder. Select the “Sensitive Objects” group and click on the edit button that looks like a pencil.
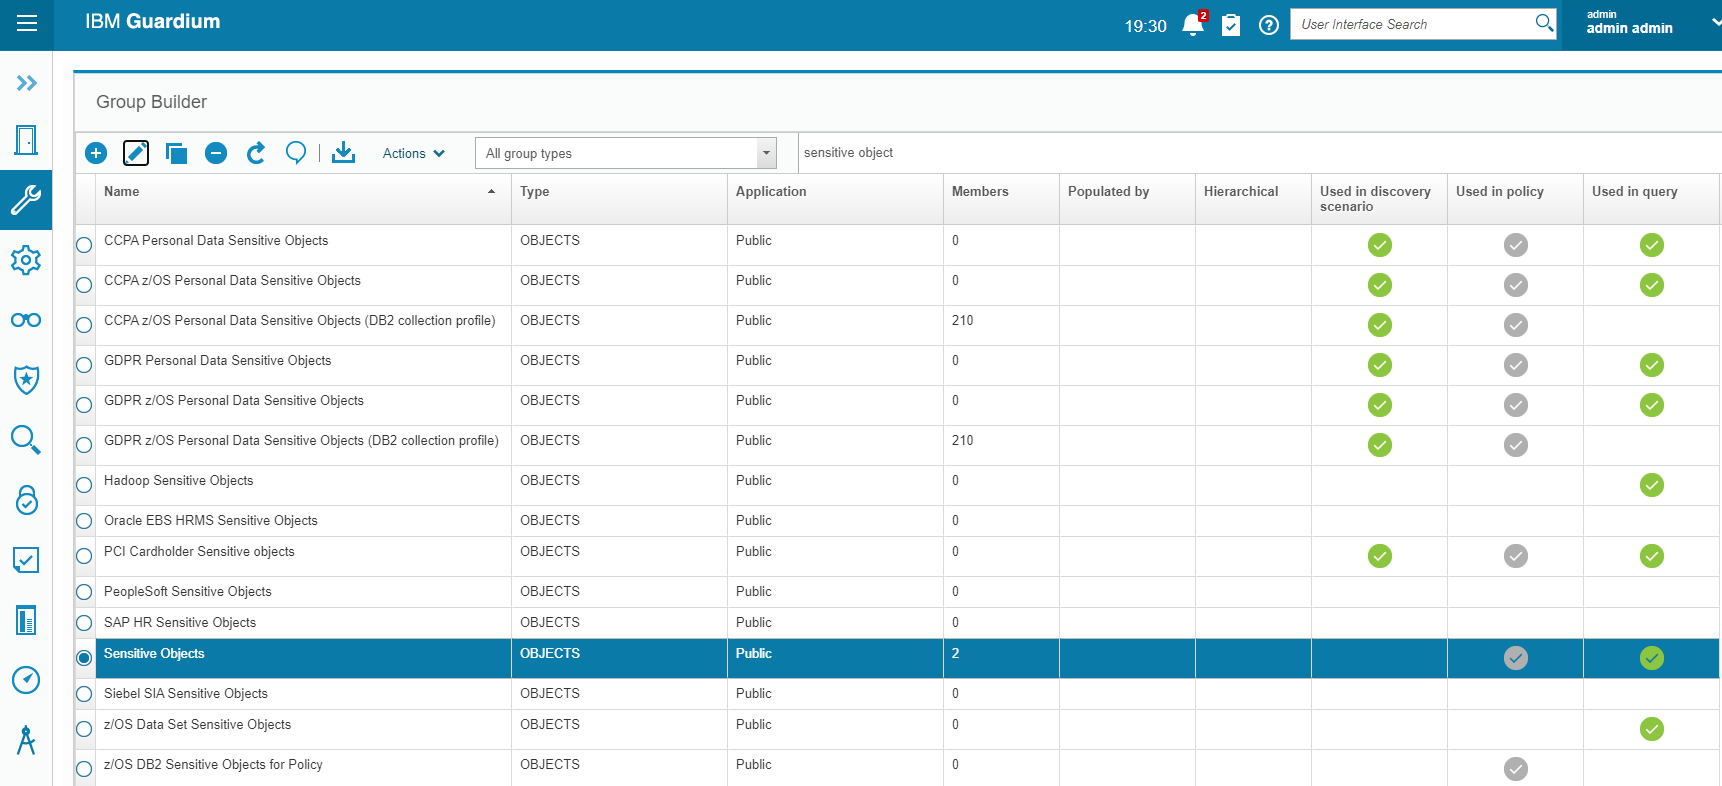
Accessing the Sensitive Objects group in the goup builder
Switch to the Members tab and click Import > From query.
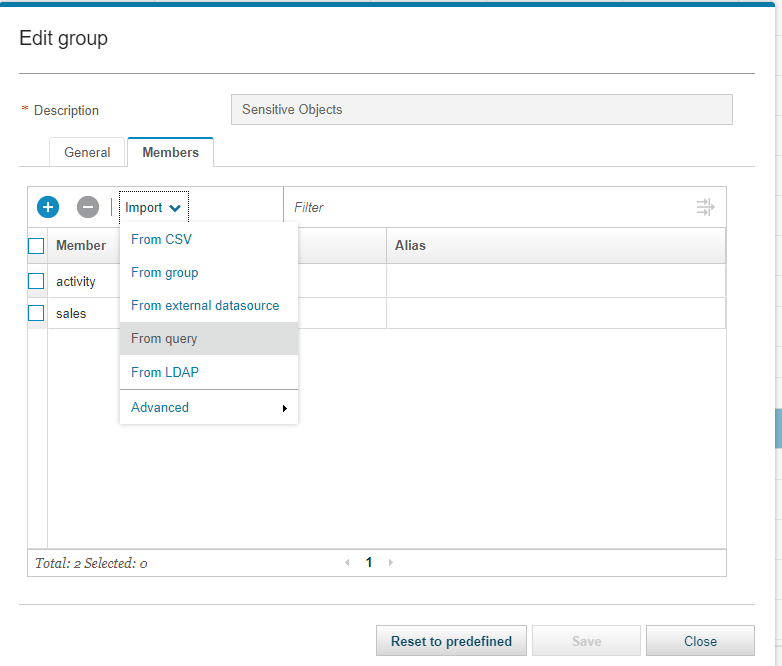
Accessing the Sensitive Objects group in the goup builder
Select the 1touch import query we just created and select the table name to be imported as the object name.
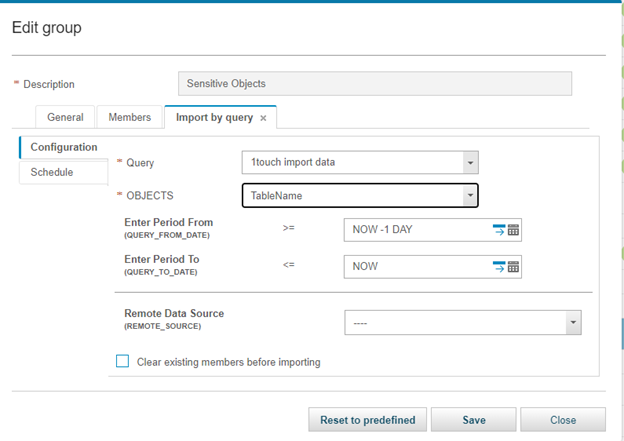
Configuring the import of group members from a query result
Now switch to the schedule and click “Run once now”.
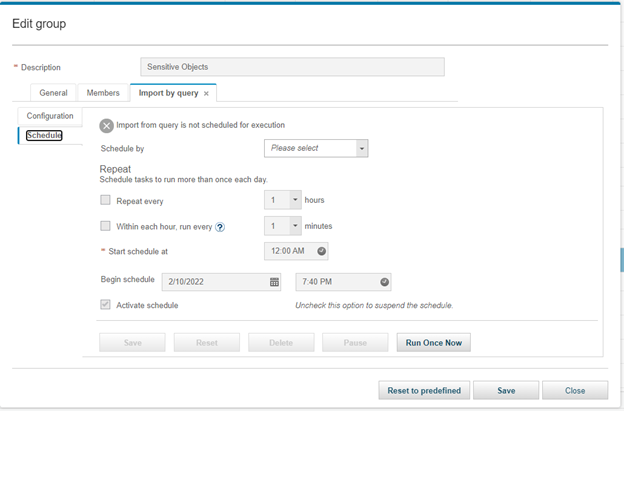
Configuring the import of group members from a query result
And there you have it. Data imported from 1touch and used in a Guardium group.
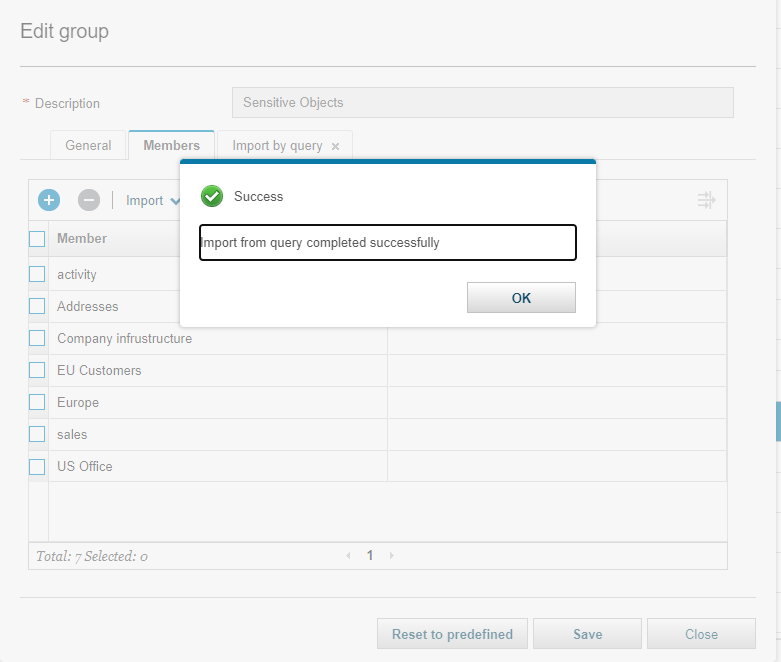
Configuring the import of group members from a query result